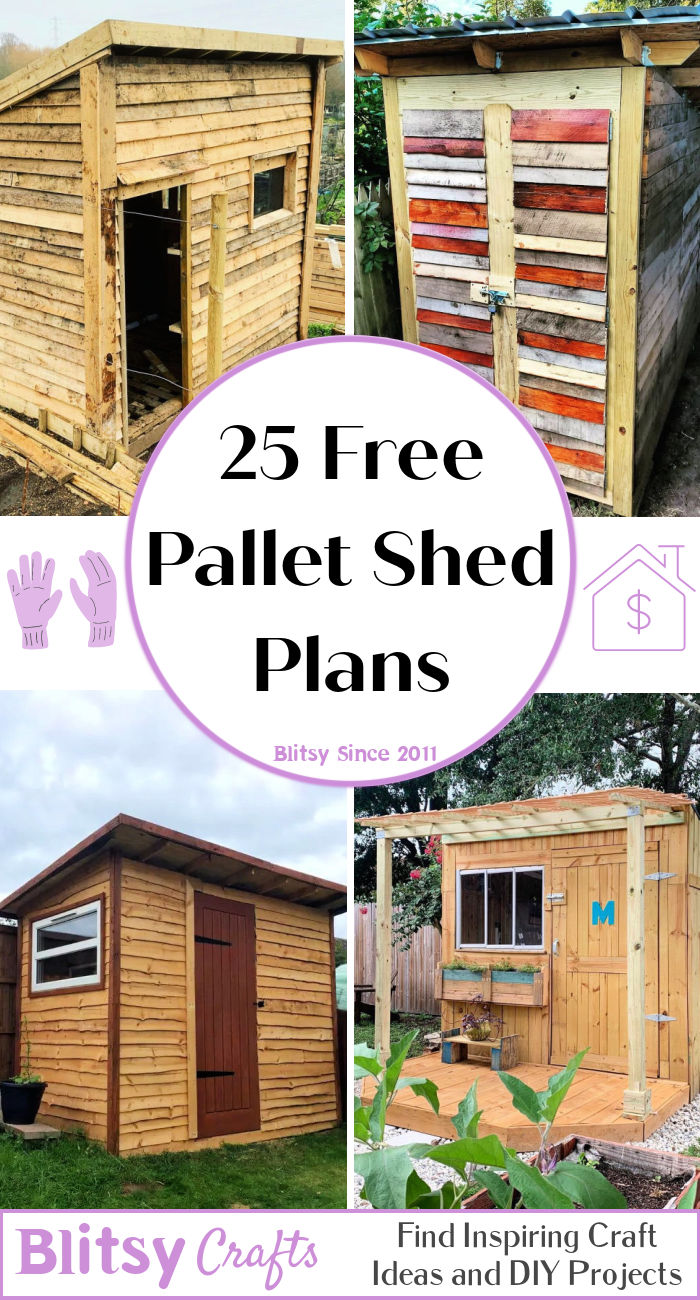
Pallet Shed DIY: Simple Steps for a Quick Backyard Build
Tired of clutter overflowing your garage? Dreaming of a tidy backyard but lacking the budget for a fancy shed? This DIY project shows you how to build a charming and functional pallet shed in a weekend, saving you money and adding character to your outdoor space. Using reclaimed pallets, this build is environmentally friendly and surprisingly simple, even for novice DIYers. Get ready to transform your backyard storage with this step-by-step guide!
Planning Your Pallet Shed
Before you dive into the exciting part of building, careful planning ensures a successful project. First, determine the desired dimensions of your shed. Consider the size of your yard and the amount of storage you need. Sketch a simple plan, noting the placement of doors and any windows you'd like to include. Remember to check your local building codes for any restrictions on shed size and placement. Next, source your pallets. Look for sturdy pallets in good condition, free of rot or significant damage. Inspect each pallet carefully before using it to ensure it's structurally sound. You'll need to assess how many you require based on your plan's dimensions.
Gathering Your Supplies
Once you have your pallets, gather the necessary supplies. You'll need:
- Reclaimed pallets: The number will depend on your shed's size.
- Gloves and safety glasses: Protect yourself from splinters and debris.
- Hammer and nails or a cordless drill and screws: Secure the pallets together.
- Measuring tape and level: Ensure accurate measurements and a level structure.
- Saw (optional): For cutting pallets to size if needed.
- Wood sealant or paint (optional): Protect your shed from the elements and add a personal touch.
- Hinges and a latch for the door: Secure and protect your belongings.
Constructing the Shed Frame
Start by assembling the floor. Lay your pallets side-by-side, creating the base of your shed. Secure them together using nails or screws. For added strength, you might consider adding additional support beams underneath. Now, build the walls. Stand the pallets vertically, attaching them to the floor frame using nails or screws. Ensure the pallets are level and flush with each other for a clean, professional look. You can use longer screws to attach multiple layers of pallets if required. For strength, create a sturdy frame using 4x4 lumber along the bottom and top of the walls before placing the pallets.
Adding the Roof and Finishing Touches
Construct the roof using the same pallet method as the walls. You can either create a gable or a simple flat roof depending on your preference. Secure the roof frame to the top of the walls using nails or screws, ensuring it's properly supported and waterproof. If you opt for a flat roof, ensure sufficient slope for water runoff. Once the roof is complete, you can apply a waterproof sealant or tar to prevent water damage. Finally, add a door using a section of pallets and hinges, and install a latch for security. Consider adding a simple window for ventilation if desired. Finish by sanding down any rough edges and applying a wood sealant or paint to enhance the appearance and protect the wood from the elements. Add your personal touch with a unique color or design!
Enjoy Your New Pallet Shed!
Congratulations! You've successfully built your very own pallet shed. This quick and easy project offers a great way to add extra storage to your backyard while showcasing your DIY skills and creativity. Remember to always prioritize safety and take your time with each step for a stable and lasting structure. Now, enjoy your new, organized, and charming backyard sanctuary!
0 comments:
Post a Comment